Want to Learn “how to crop in Cricut Design Space” to clean up designs, separate layers, or fine-tune your artwork. I must tell you that Cricut Design Space doesn’t have a traditional “Crop” tool. You can use specific workarounds with basic tools like Slice, Subtract, and Contour to achieve cropping.
This blog provides a step-by-step guide to the entire process. To crop effectively, you’ll use native tools creatively. And that’s what this tutorial is all about. So let’s get started!
How to Crop in Cricut Design Space Using the Slice Tool
Let’s begin with the most effective method for cropping designs in the Cricut Design Space Software: using the Slice function to cut out desired parts of your design.
Step 1: Upload Your Image
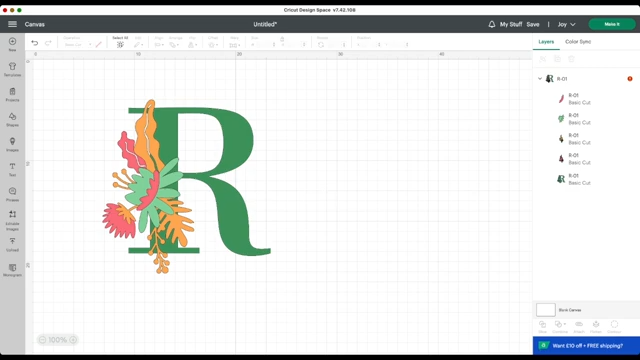
Open Cricut Design Space and insert the image you want to crop. You can upload your own or choose one from the Cricut library.

Step 2: Add a Shape
In the toolbar on the left side, click “Shapes.” Select a shape, like a square or a circle, as your cropping tool. For this example, we’ll use a square shape.
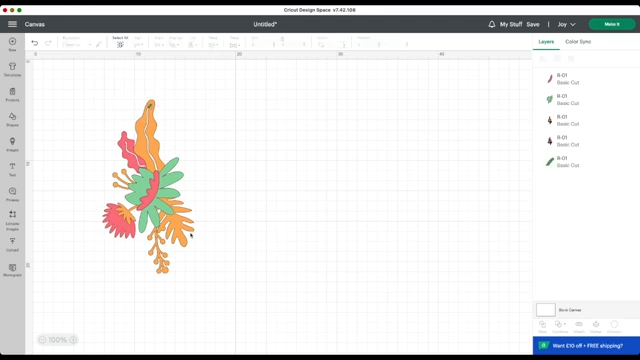
Step 3: Place and Resize Shape
Position the shape over the desired area to keep or remove, then resize it as needed by dragging the corner handles for precision.
Step 4: Select Both Layers
Hold the Shift key and click on both the shape and image to select them. Make sure that both are highlighted in the right-hand Layers panel.

Step 5: Click the Slice Button
When you select both the square and design, the Slice option will appear. Click on the Slice button in the bottom right panel. This will crop out the shape from the image. You’ll have three layers: the cropped part, the leftover image, and the shape.
Step 6: Remove Extra Parts
You can delete the unnecessary black square pieces, keeping only the part you want to use.

Repeat the above steps to crop additional parts of your design as needed.

How to Crop in Cricut Design Space With the Contour Tool
If you want to crop more complex images, try the advanced cropping tool Contour. It is another handy method, especially when working with SVG files that contain multiple paths and layers.
Step 1: Upload your SVG file to the canvas.
Step 2: Select the design and hit the “Contour” button in the lower-right menu.
Step 3: A new window showing all individual cut lines will open. Click on the parts you want to hide or crop out. This will not delete them; it will make them invisible on the canvas.

Step 4: Once you’ve hidden the unwanted elements, your image will only contain the desired parts.
This method is especially useful when cropping within a single design or separating grouped elements in a complex SVG.
How to Crop in Cricut Design Space Using the Subtract Option
To “crop” using the Subtract tool in Cricut Design Space, you essentially use it to remove a specific design area. This is similar to slicing but with fewer resulting layers. Follow these steps to learn cropping with the Subtract tool:
Step 1: Choose the shapes you want to work with, ensuring the shape you want to keep as the base is at the bottom of the selection.
Step 2: Find the “Combine” option near the top of the Cricut Design Space screen.
Step 3: Click on the “Subtract” option within the Combine panel.

Step 4: The bottom-most selected shape will remain, and the areas where other shapes overlap will be cut out of it.

Always keep your layers organized and understand what kind of file you’re working with.
Congratulations! You’ve successfully learned “how to crop in Cricut Design Space“, whether you’re using the Slice, Contour, or Subtract feature.
Frequently Asked Questions (FAQs)
How to Crop an Image in Cricut App?
Learn “How to Crop an Image in Cricut Design Space“, follow these steps:
- Insert the image into the canvas.
- Add a shape over the area you want to keep.
- Select both and click Slice.
- Delete the extras and use only the cropped piece.
Note: If your file isn’t an SVG, flatten it before slicing to ensure the system doesn’t treat it as a single object.
How to Recover Unsaved Files in Cricut Design Space?
Yes, you can undo a crop in Cricut Design Space. If you’ve accidentally cropped an image and want to revert it, you can use the “Undo” function, typically found in the top menu, or by pressing Ctrl + Z (or Command + Z on a Mac).
If you’ve moved beyond that step in your project, you may need to undo multiple steps to get back to the point before the crop was applied.
Is There a Crop Tool in Cricut Design Space?
No, Cricut Design Space does not have a dedicated “Crop” button. Instead, you use the Slice tool with a shape to achieve a cropping effect. Instead, you can use Slice, Contour, and the Subtract tool to accomplish a cropping effect in conjunction with a shape.